
Meet Hettie...
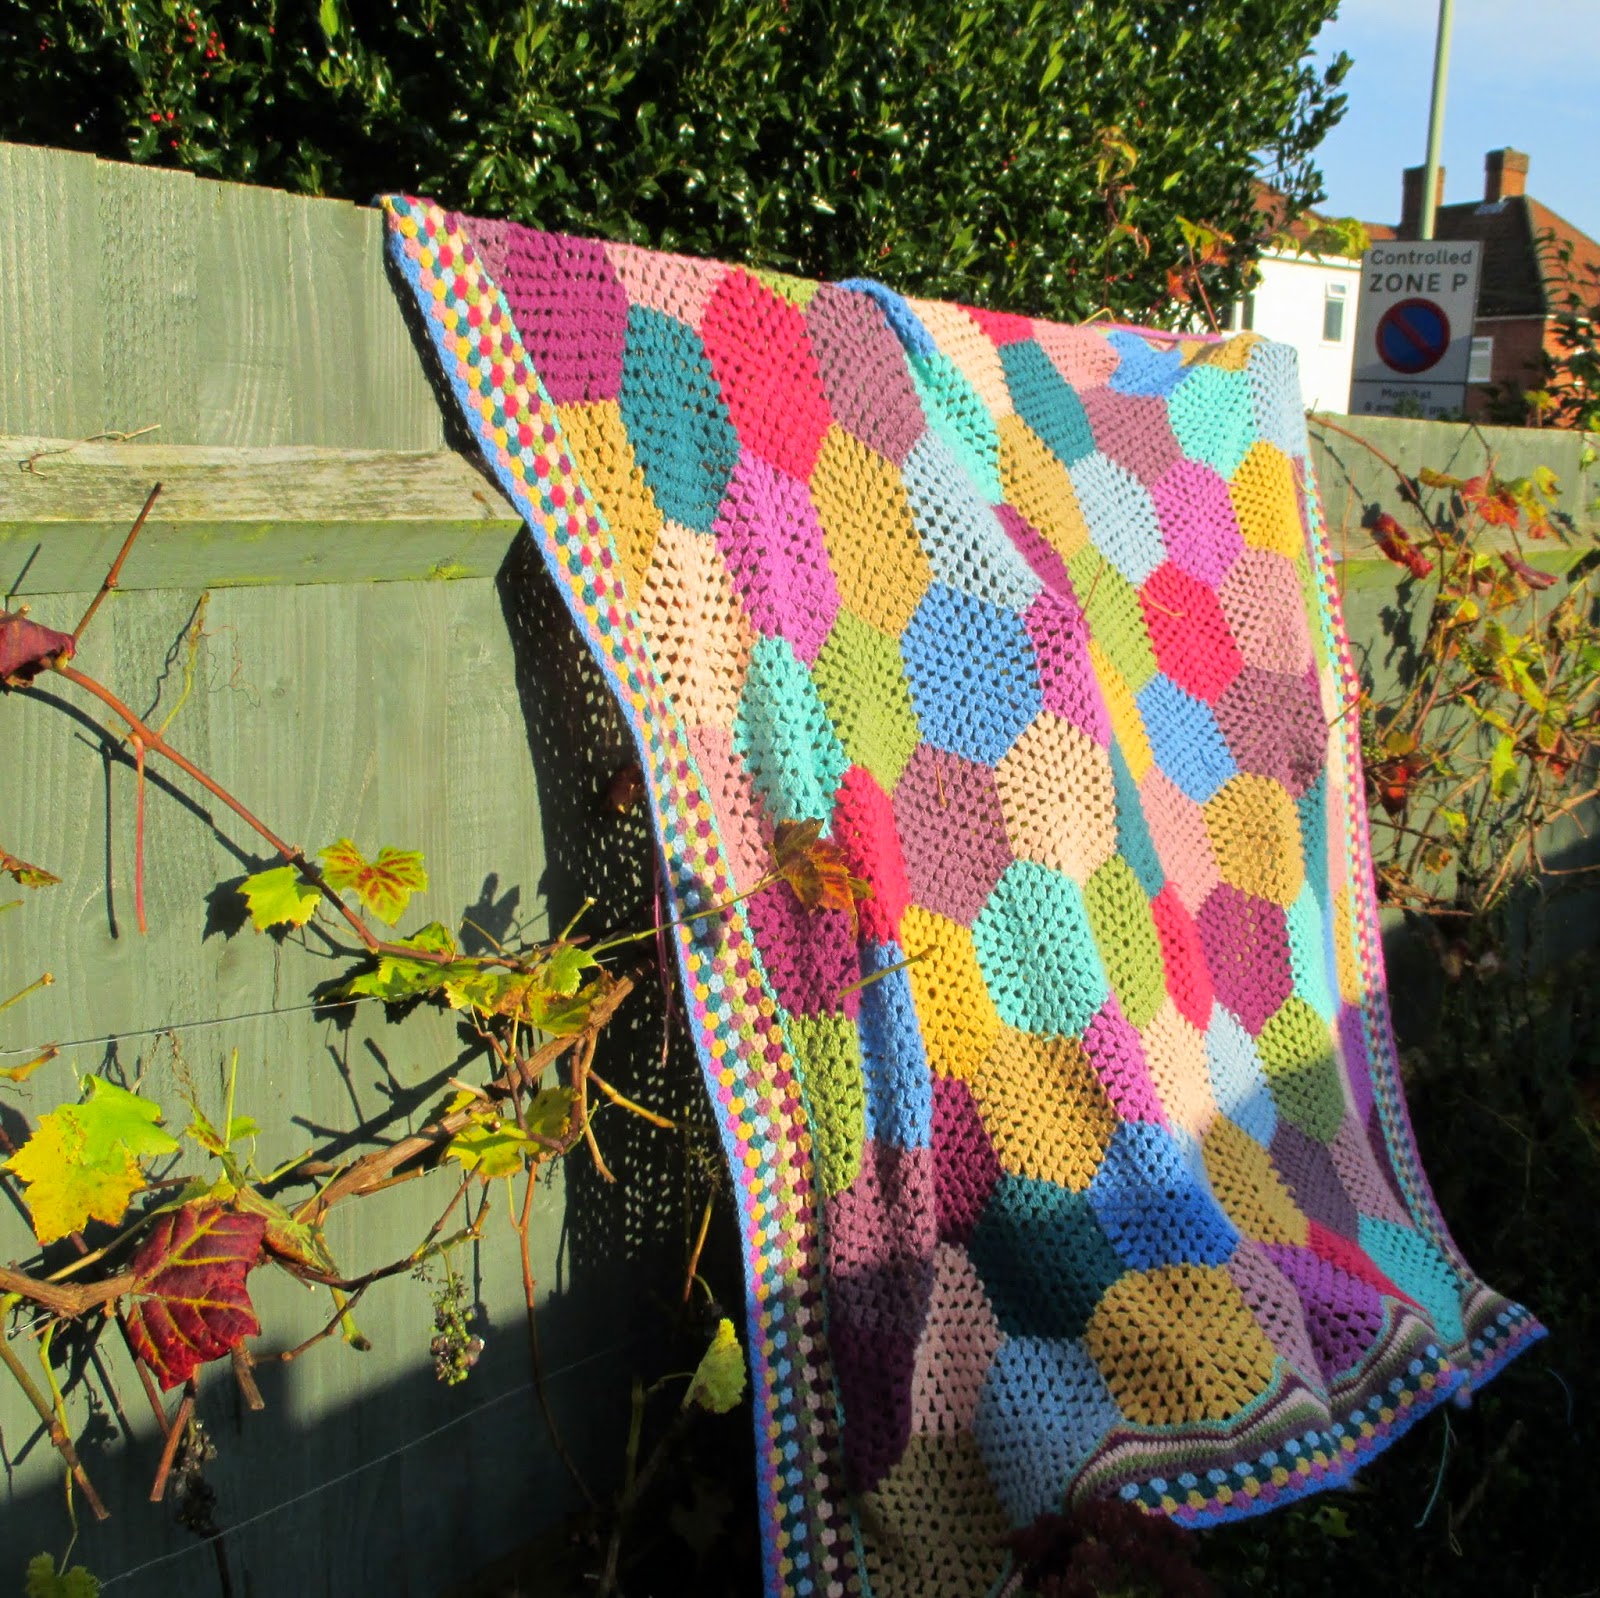
...my hexagon blanket.

Why Hettie? Well, it's much easier to type than 'hexagon camping/picnic blanket', and it sounds much nicer too!
I finished Hettie in the summer, she came camping with us then, and since has become a much loved part of the family. She lives mainly on the sofa, sometimes on the floor and occasionally draped over things to make a den.
Yesterday, she was slung over my garden fence, posing for photos... Sunny on one side of the garden, and not so much on the other...

If you'd like to make your own hexagon blanket, here's how:
You will need:
1 ball of Stylecraft Special DK in each of the following colours:
Saffron 1081
Apricot 1026
Aspen 1422
Aster 1003
Camel 1420
Cloud Blue 1019
Grape 1067
Meadow 1065
Plum 1061
Raspberry 1023
Pale Rose 1080
Teal 1062
Pomegranate 1083
4mm crochet hook
Darning needle
Scissors
And how to do it? Well, I've put together some instructions...
To make the hexagons: click here
To join the hexagons together: click here
To make some half-hexagons: click here
To join the half-hexagons: click here
Phew! A lot of instructions, but worth it and straight forward once you get going. I'll pop them in the sidebar too, so if you need to come back and find them all, that's where they'll be...
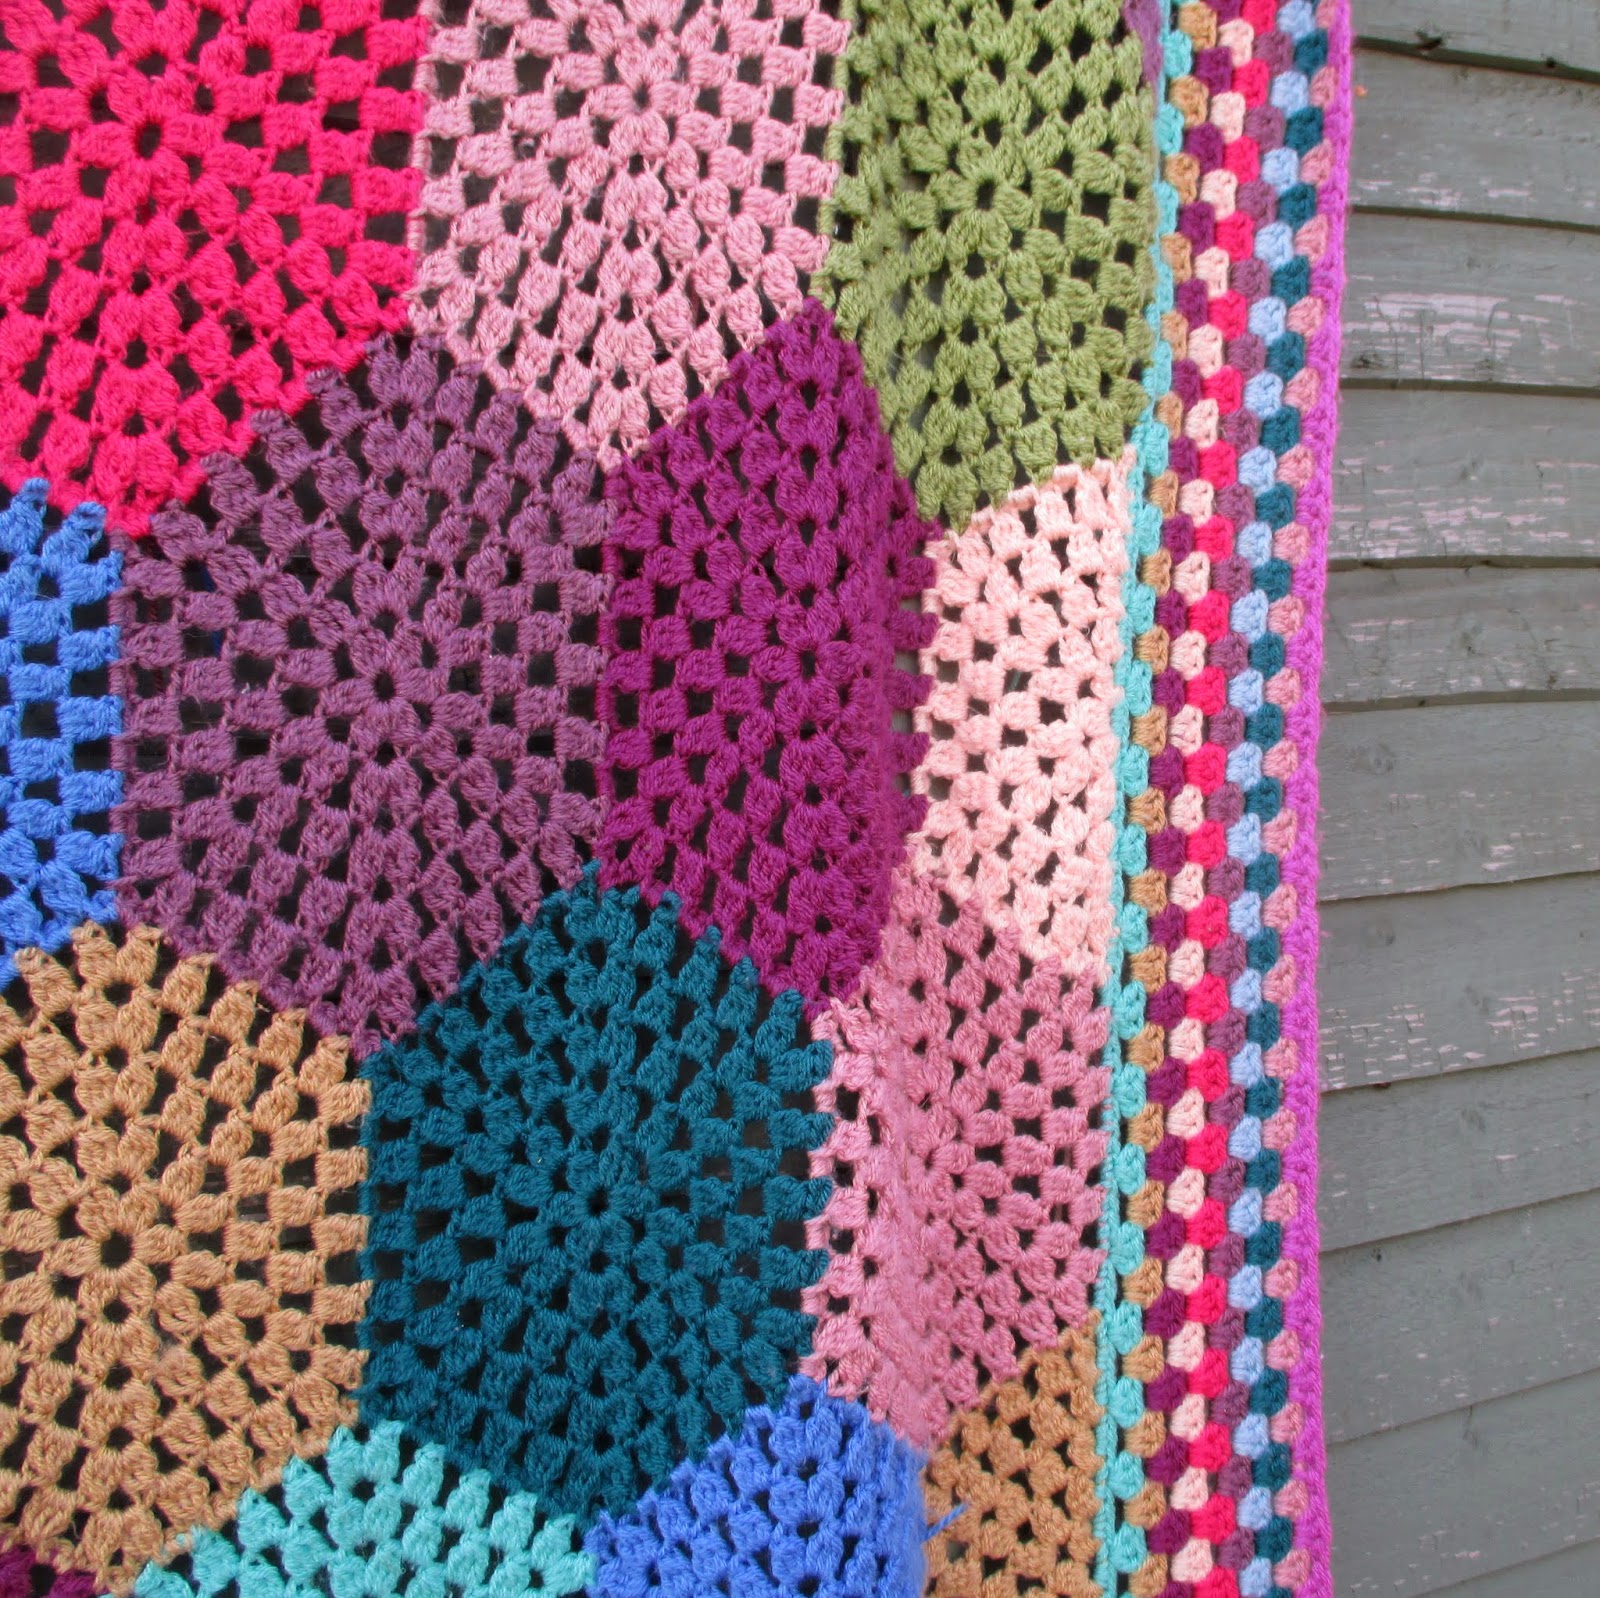
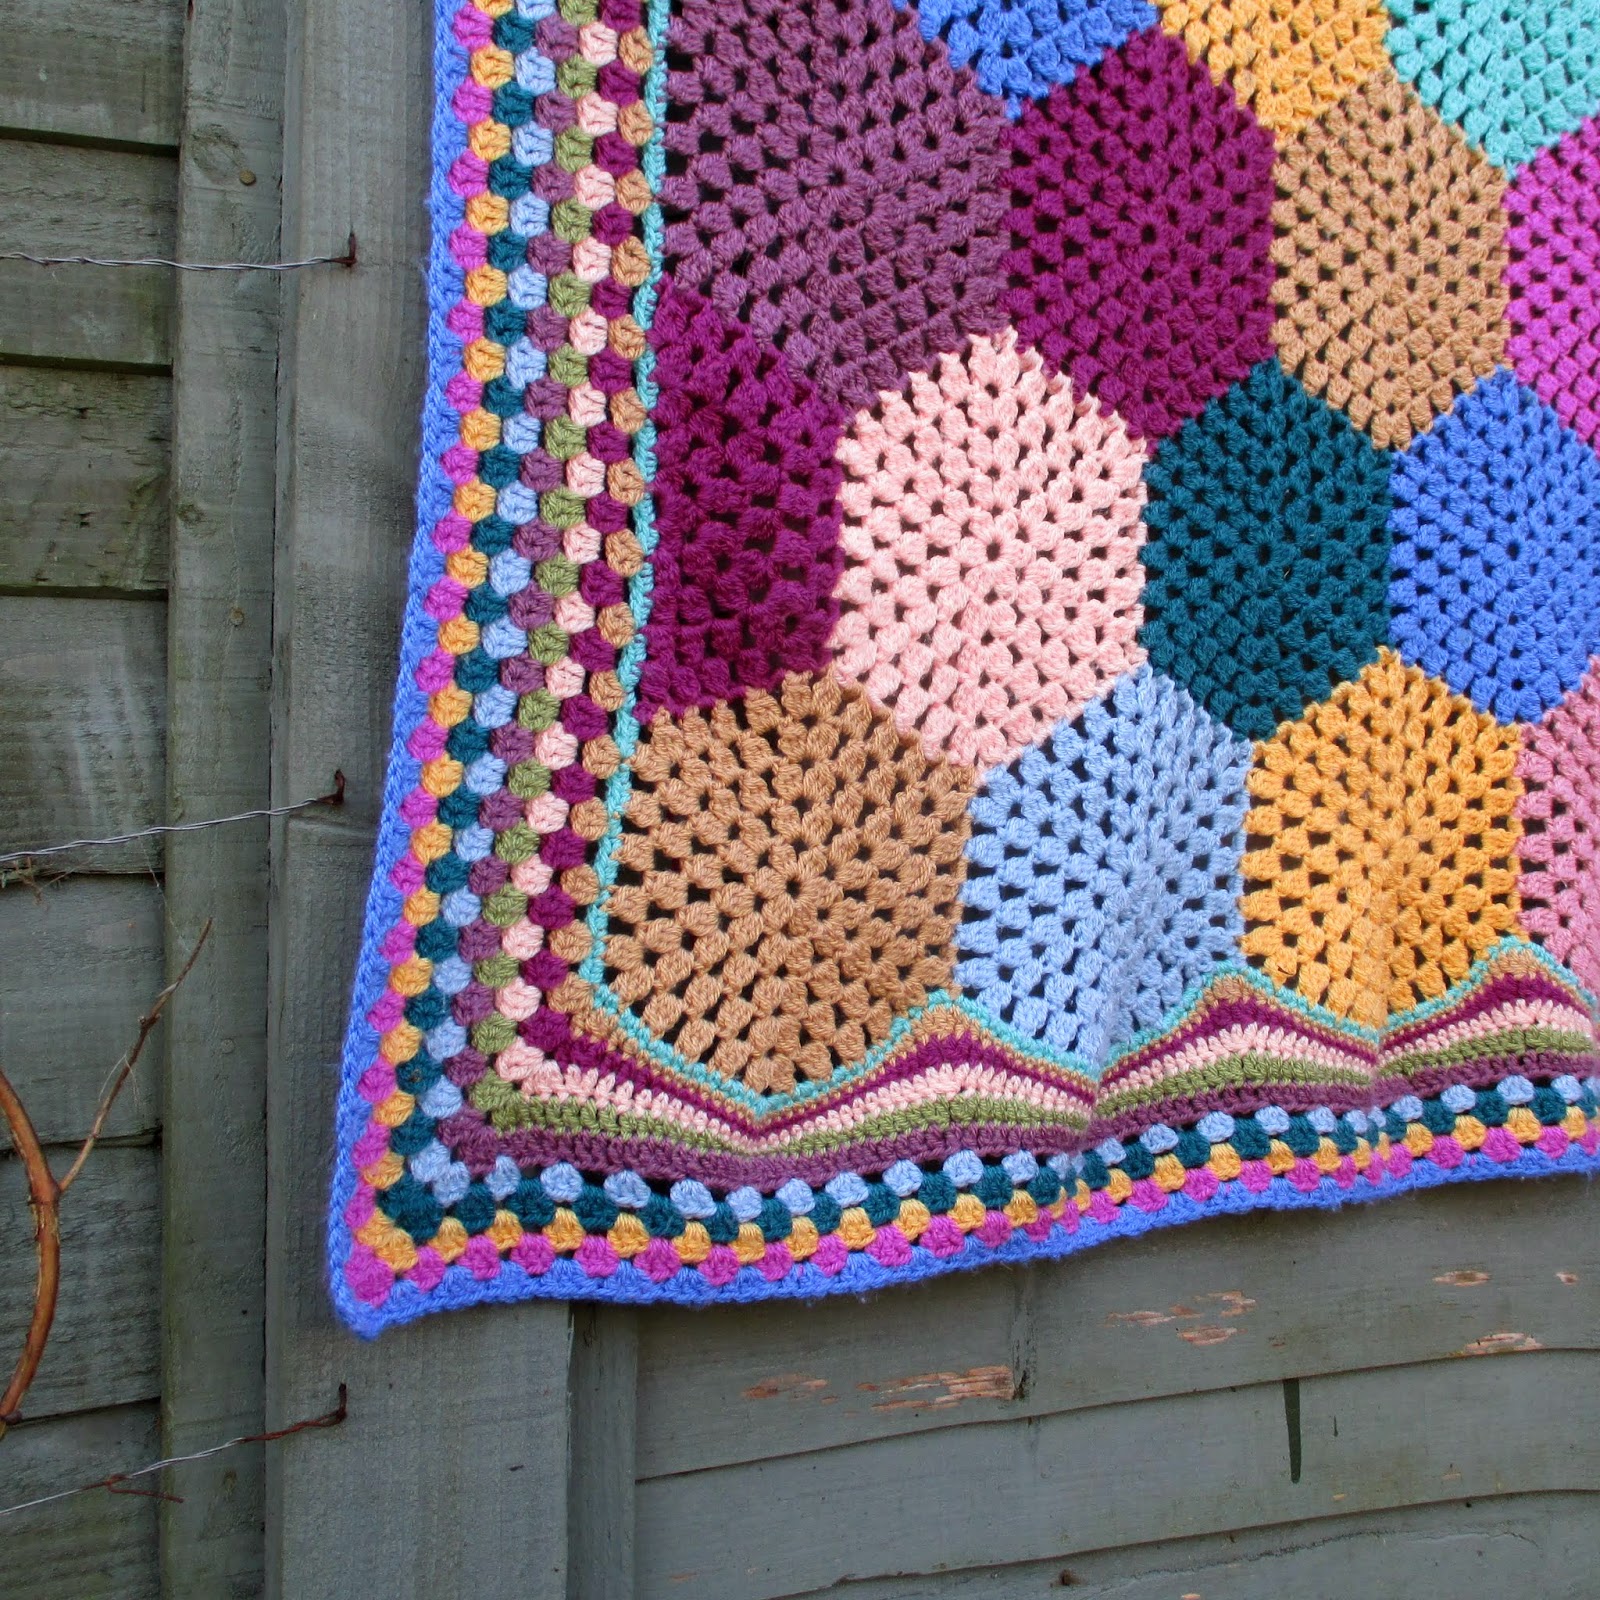
I haven't counted how many hexagons I've made in each colour - I'll leave that for you to decide. The edging is worked with whatever yarn is left over. I used up all 13 balls of yarn in the end, except 11g of the last colour! Very, very satisfying.
All finished, the blanket is nearly square measuring 150cm one way and 155cm the other.
All finished, the blanket is nearly square measuring 150cm one way and 155cm the other.

How to crochet the edging? That will be part two...

I think all these hexagons should keep you busy enough for the moment!

Any troubles, get in touch... I can be found here, or over on my Facebook page, most mornings with a fresh cup of tea.
xx
Wow this look fabulous. Not seen anything like it before, you must be really satisfied with the end product. Well done and thanks for sharing.
ReplyDeleteIt's gorgeous Claire, I hope the tutorial gets well used! x
ReplyDeleteLovely blanket!
ReplyDelete